


Living in Truth:
Archaeology and the Patriarchs

- Close Navigator

- Book Home
- Abstract
- Part I - Early Egyptian History
- Chapter 1 "Sons of a Greater Goddess"
- Chapter 2 "The Fair Daughters of Godly Men"
- Chapter 3 "In Love and War"
- Chapter 4 "Deadly Drought, Fatal Flood"
- Chapter 5 "Biblical Dark Ages"
- Chapter 6 "God is One God"
- Chapter 7 "A Sceptre Shall Rise"
- Chapter 8 "The Fullness of Time"
- Chapter 9 "Right in Their Own Eyes"
- Chapter 10 "Contending with the Almighty"
- Chapter 11 "All My Will"
- Chapter 12 "At the Side of My Father"
- Chapter 13 "The Day of Reckoning"
- Chapter 14 "Brave Among Men"
- Chapter 15 "A Shepherd They Withheld"
- Chapter 16 "Surest Signs of Piety"
- Charts for Part I
- Part II - Amarna Period
- Chapter 17 "Beast of Burden"
- Chapter 18 "Wars and Rumors of Wars"
- Chapter 19 "I Now Abandon You to Shishak"
- Images Chapter 19 Reference Pictures
- Chapter 20 "Evil More Than All Before"
- Chapter 21 "The Wrath of the Lord is upon You"
- Chapter 22 "A Jealous God"
- Chapter 23 "Mine Own Familiar Friend"
- Chapter 24 "An Everlasting Priesthood"
- Chapter 25 "No Better than My Ancestors"
- Chapter 26 "A Double Portion"
- Chapter 27 "Go in Peace"
- Charts for Part II
- Part III - End of the New Kingdom
- Chapter 28 "Beginning of Strength"
- Chapter 29 "To No One's Regret"
- Chapter 30 "His Youngest Son Succeeded Him"
- Chapter 31 "The Chariot and Horsemen of Israel"
- Chapter 32 "The Fairest of Them All"
- Chapter 33 "A Separate House"
- Chapter 34 "Through the Fire"
- Chapter 35 "One Conquers a Thousand"
- Chapter 36 "Neither Before Nor After"
- Chapter 37 "Bronze Shackles"
- Chapter 38 "Peace and Security in My Time"
- Chapter 39 "His Servant for Three Years"
- Chapter 40 "I Will Wipe Jerusalem as a Dish"
- Chapter 41 "I Will Raise Up Cyrus, My Anointed Shepherd"
- Charts for Part III
- Supplements
Herodian Identities of New Testament Characters - S1 "Mary Magdalene, Harlot or Queen?"
(Posted at The Daily Grail website) - S2 "Herod the Great, King of the Jews"
- S3 "The Birth of Christ"
- S4 "The Ministries of John the Baptist and Jesus"
- S5 "Saints and Apostles"
- Chart "Jacob Typecasting of Herod"
- Chart "Solomon Typecasting of Herod"
- Chart "Egyptian Archetypes of Herodians"
- Chart "Gospel Identities of Herodians"
- Chart "Collective Typecasting of Herodians"
- Tutorials
- Lesson 1, "His Eye was not Diminished"
- Lesson 2, "Who Made You Judge Over Us?"
- Lesson 3, "To the Utmost Bound"
- Lesson 4, "Swift upon the Prey"
- Close Navigator
by Charles N. Pope
Copyright ©1999-2004 by Charles Pope
United States Library of Congress
All rights reserved under International and
Pan-American Copyright Conventions
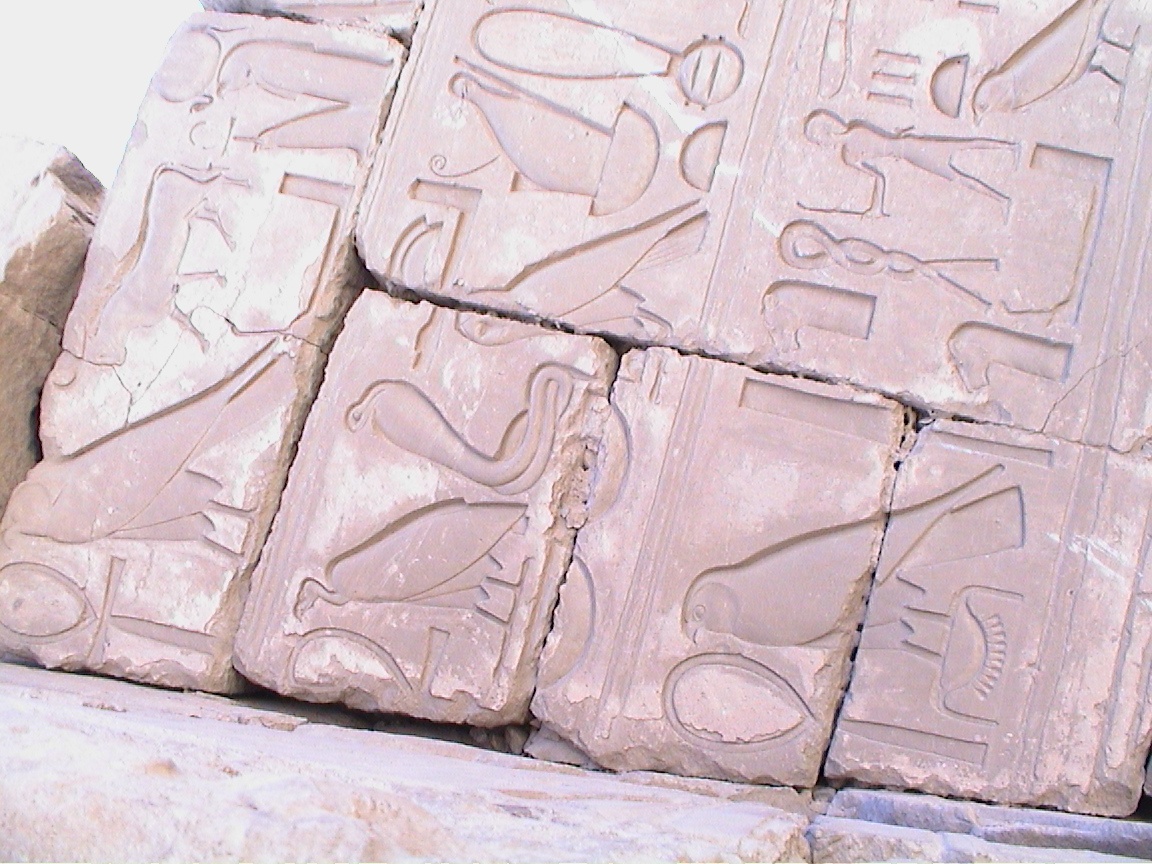
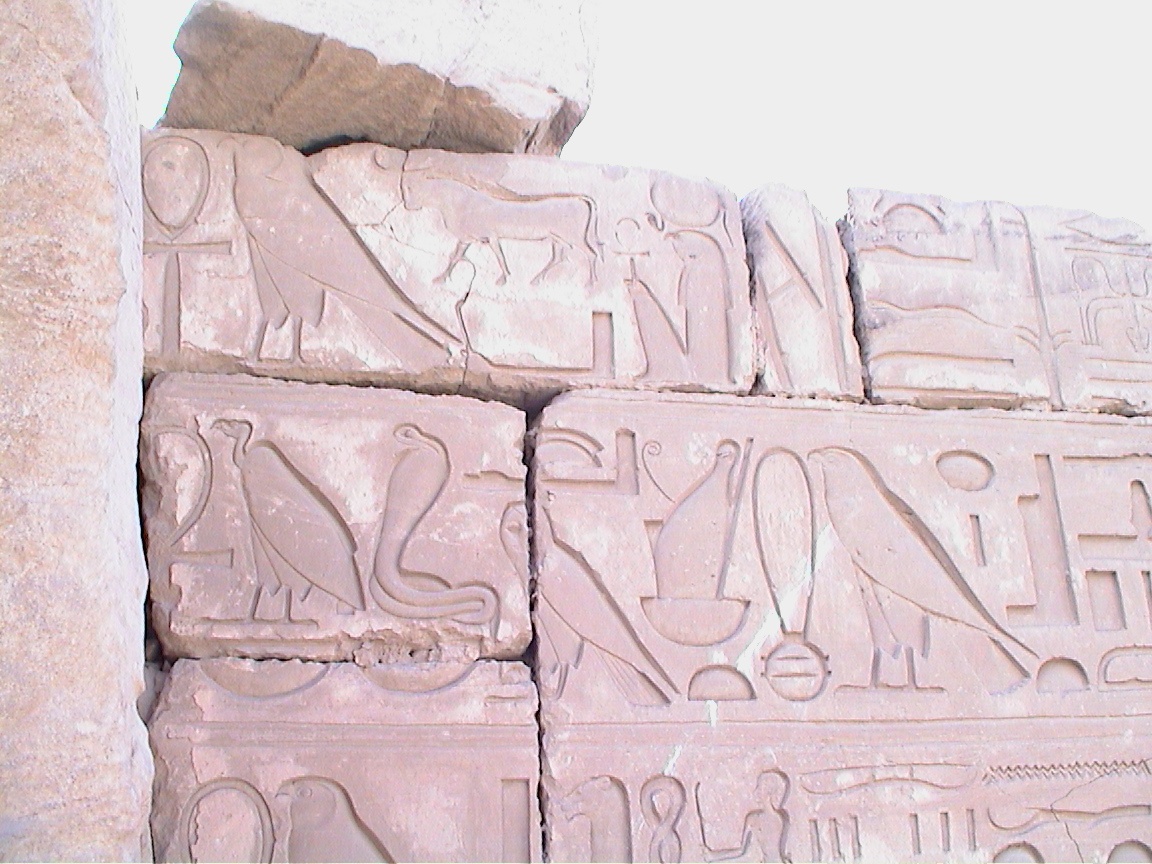
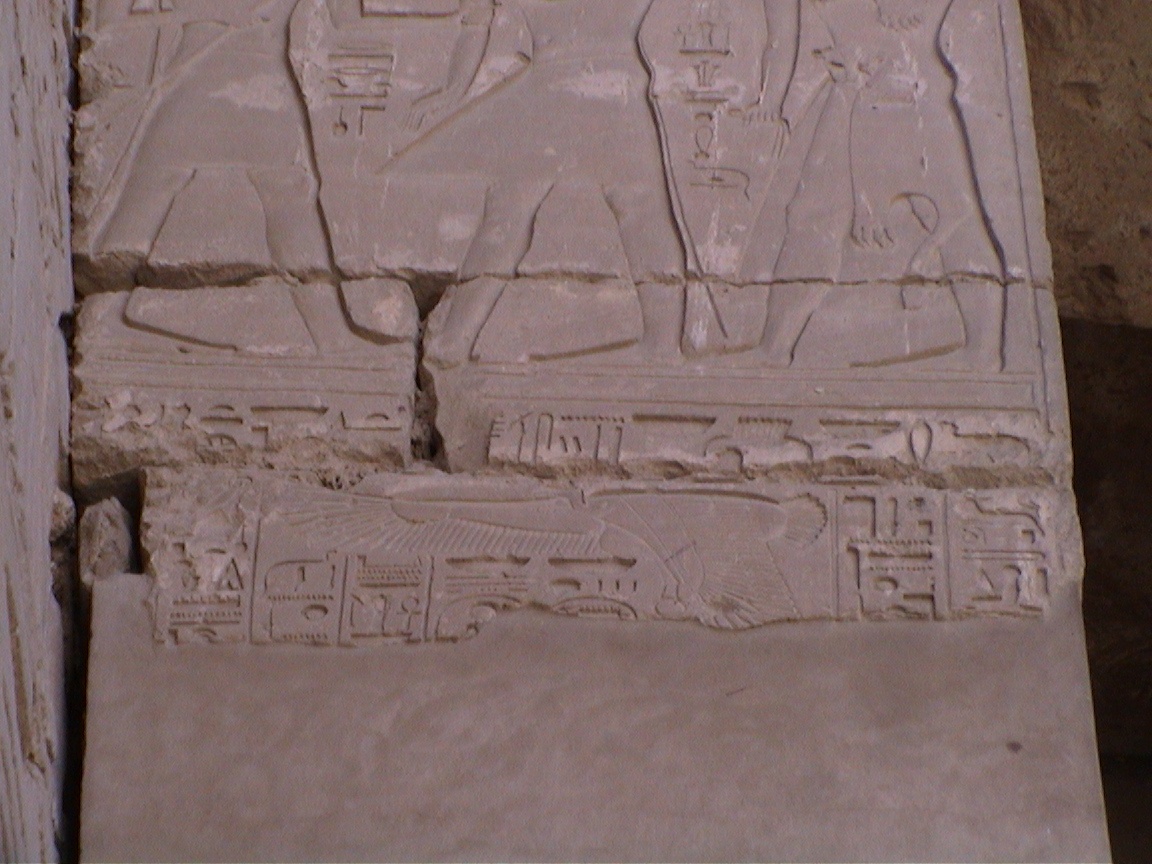
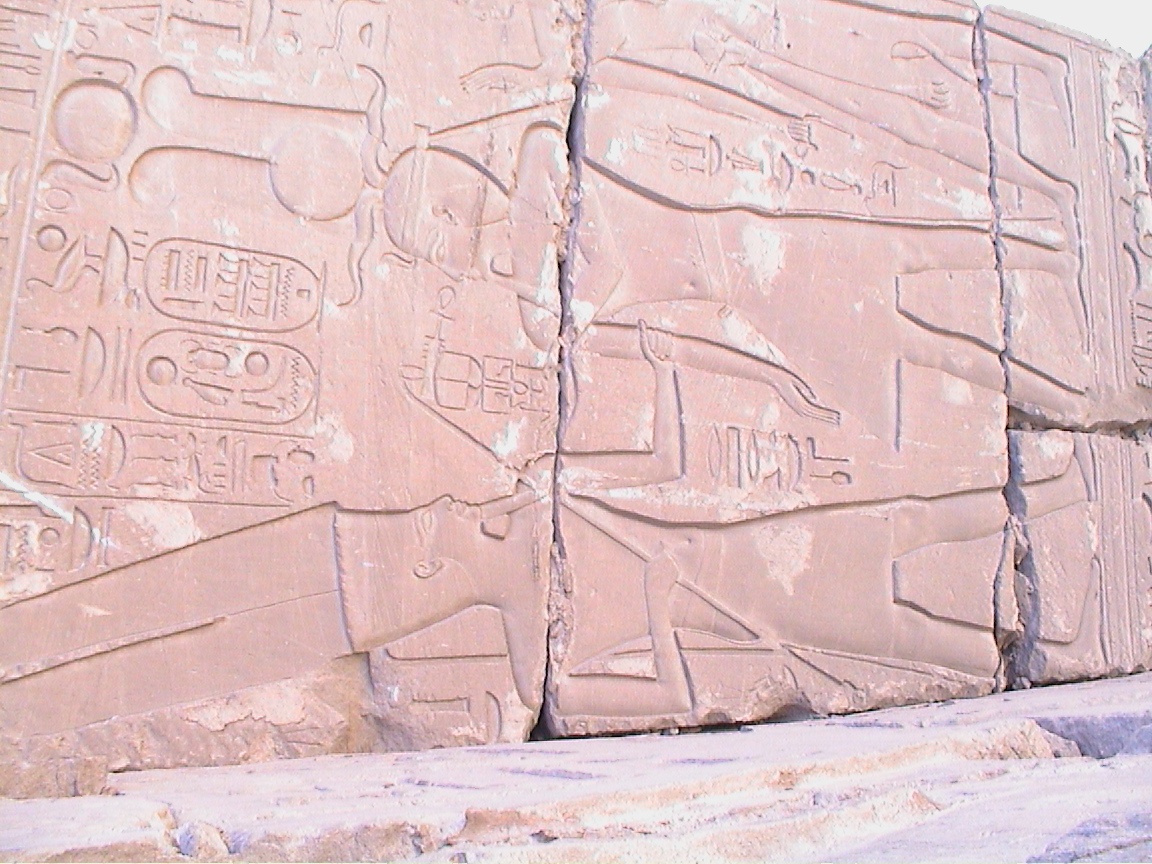
Chapter 19
Reference Images
- Truncated Ankh, View 1
- Truncated Ankh, View 2
- Truncated Ankh, View 3
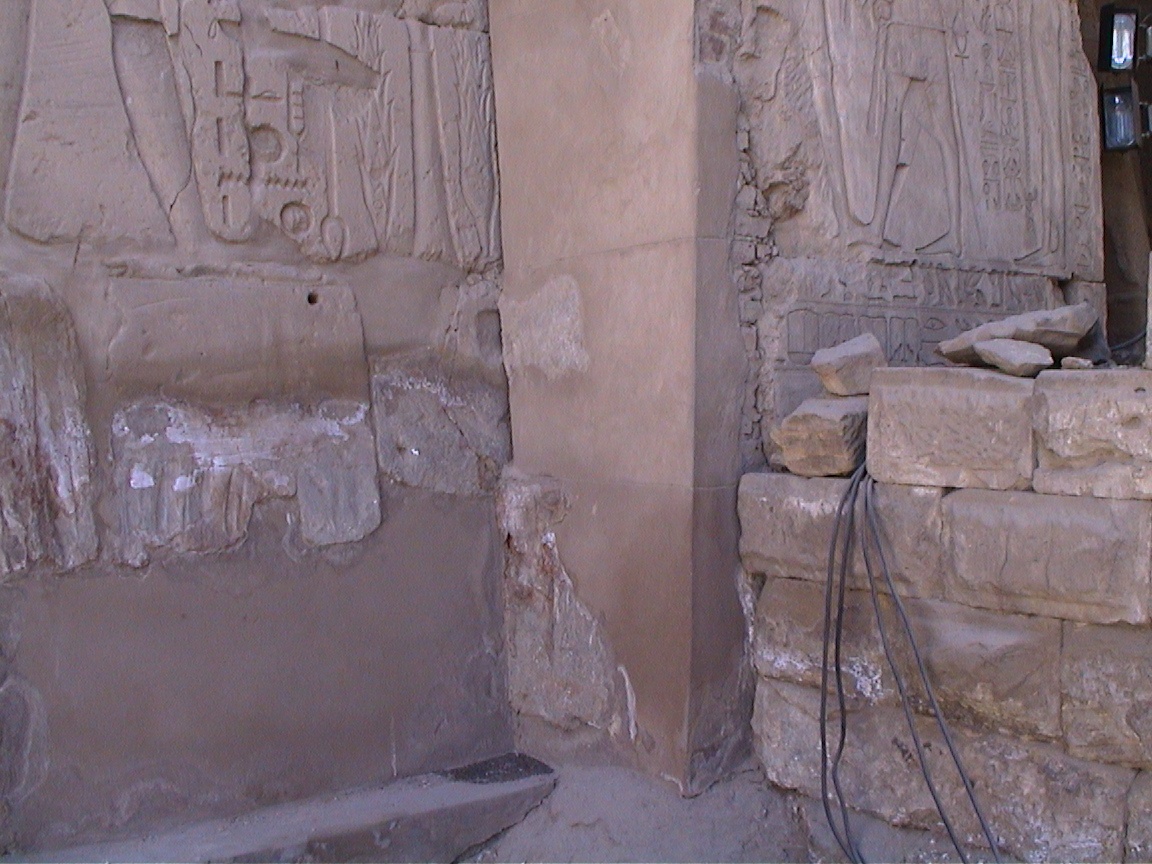
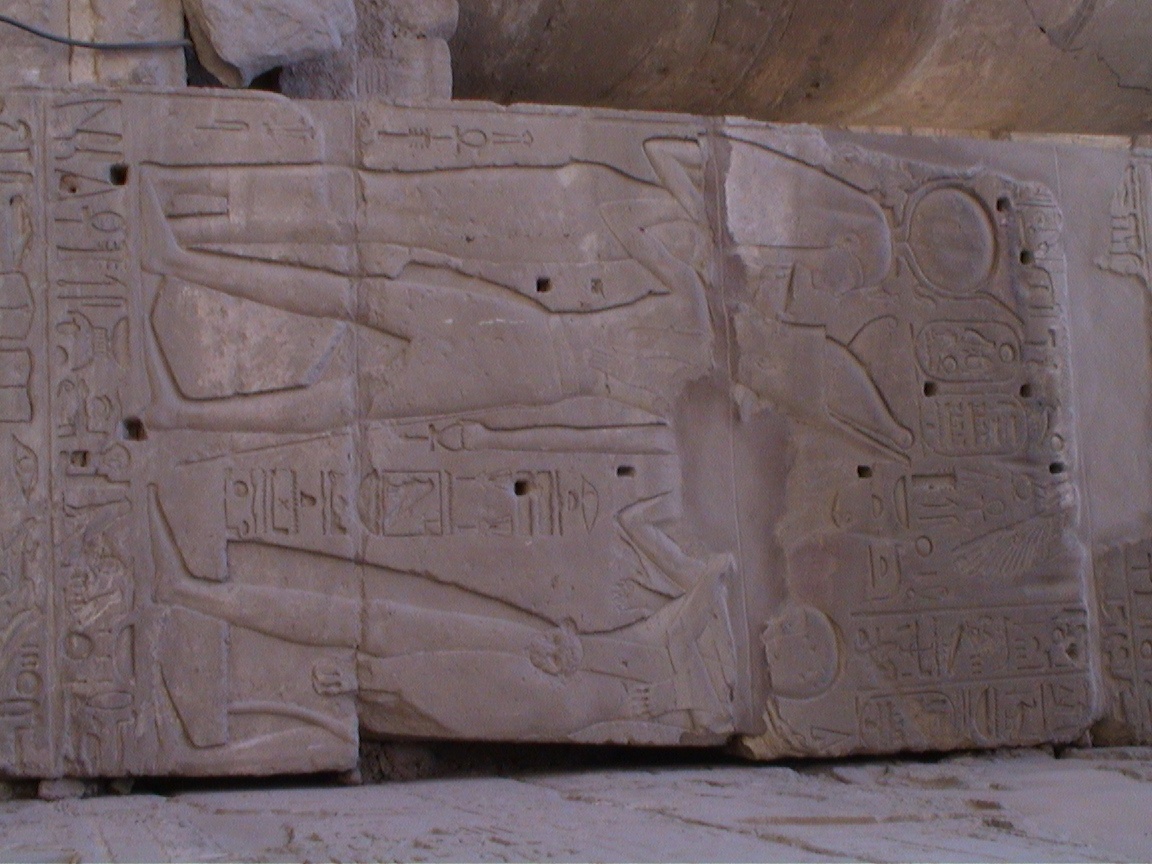
- King Iuput "crowded" into his own mural
- King Iuput "crowded" into his own mural
- King Iuput "crowded" into his own mural
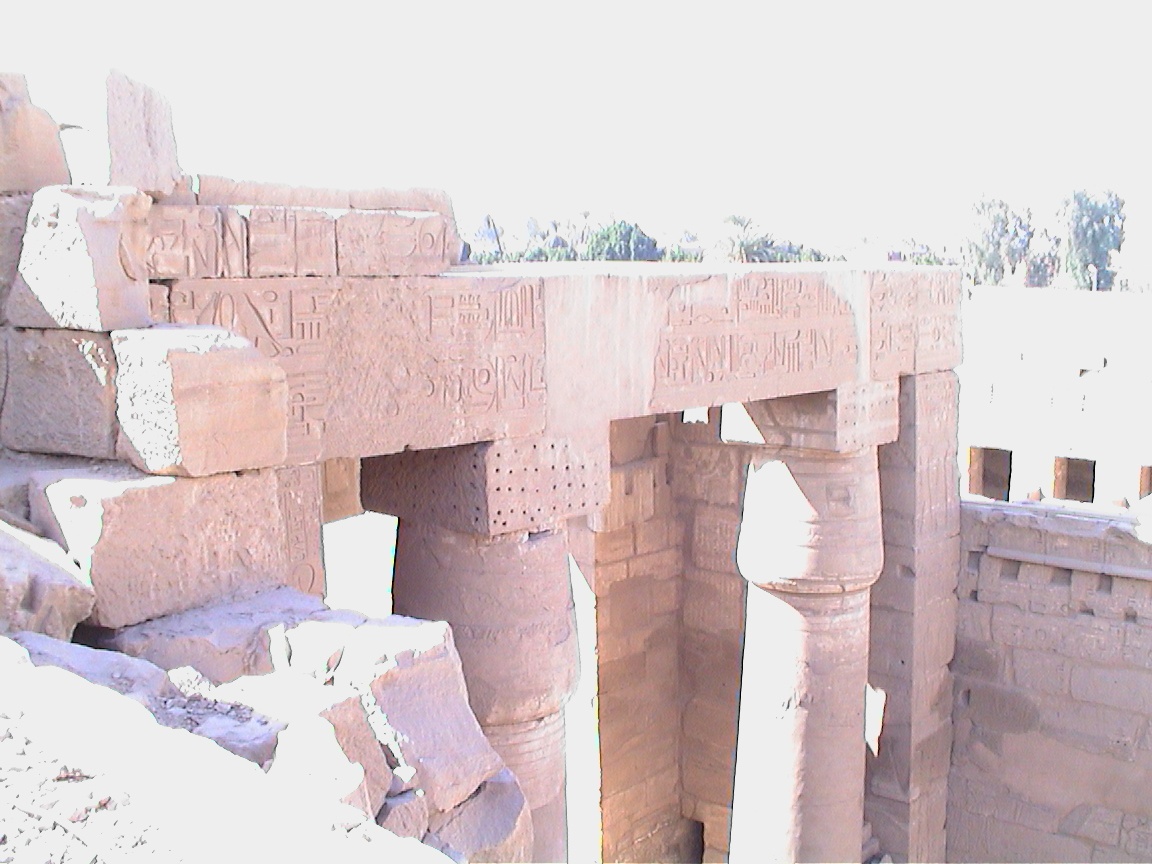
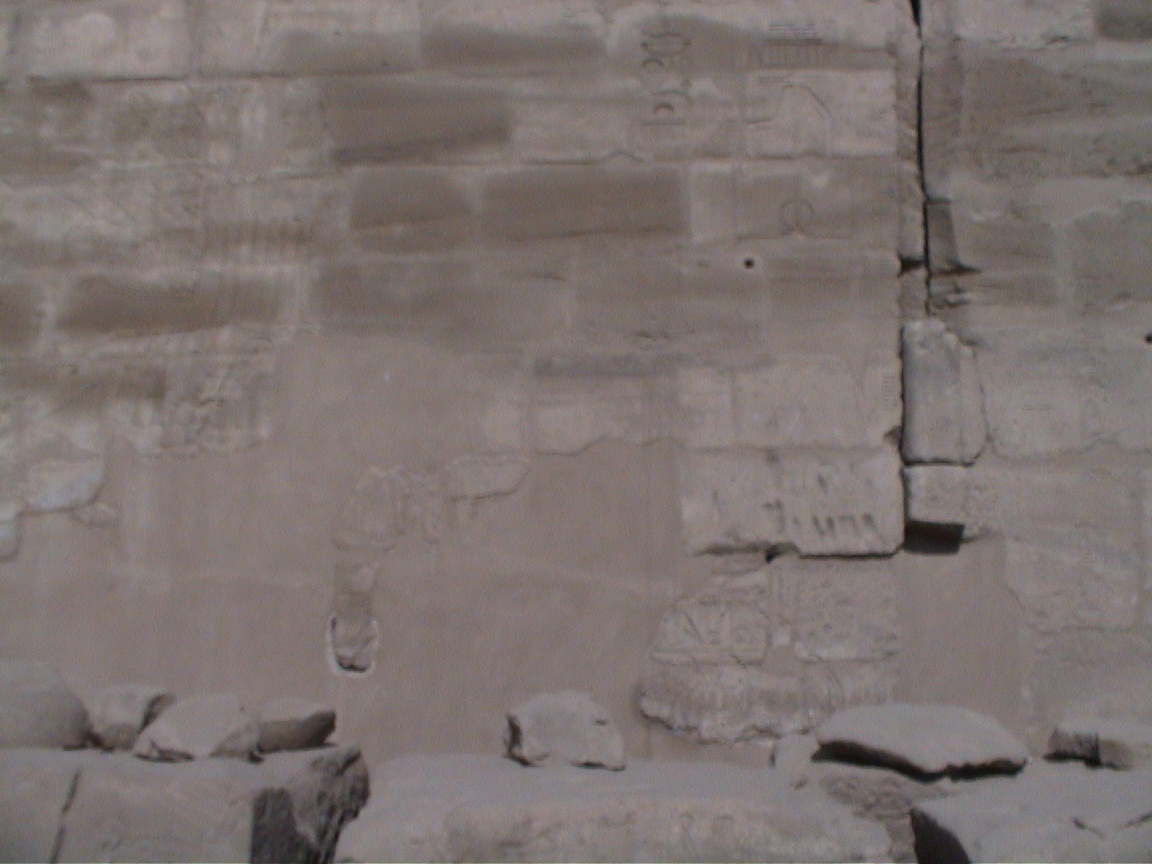
- Rear View of Bubastite Portal, Left Side
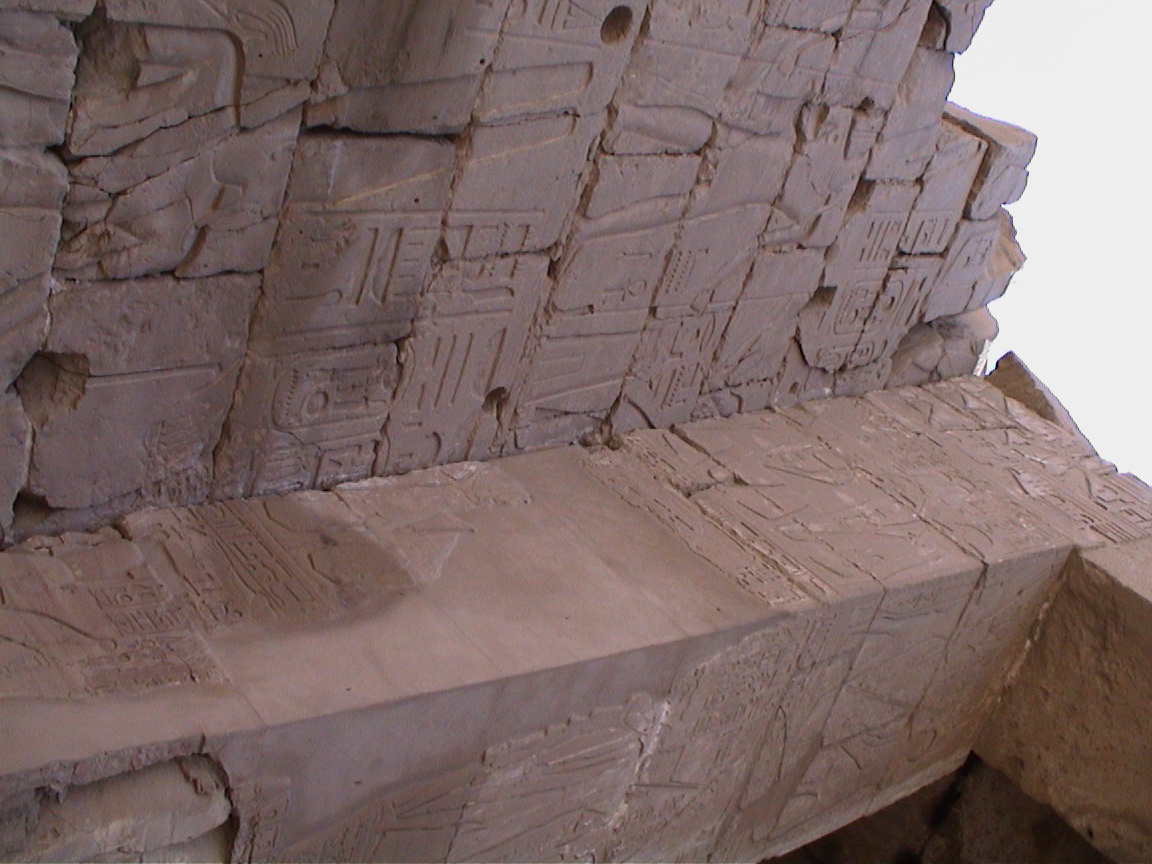
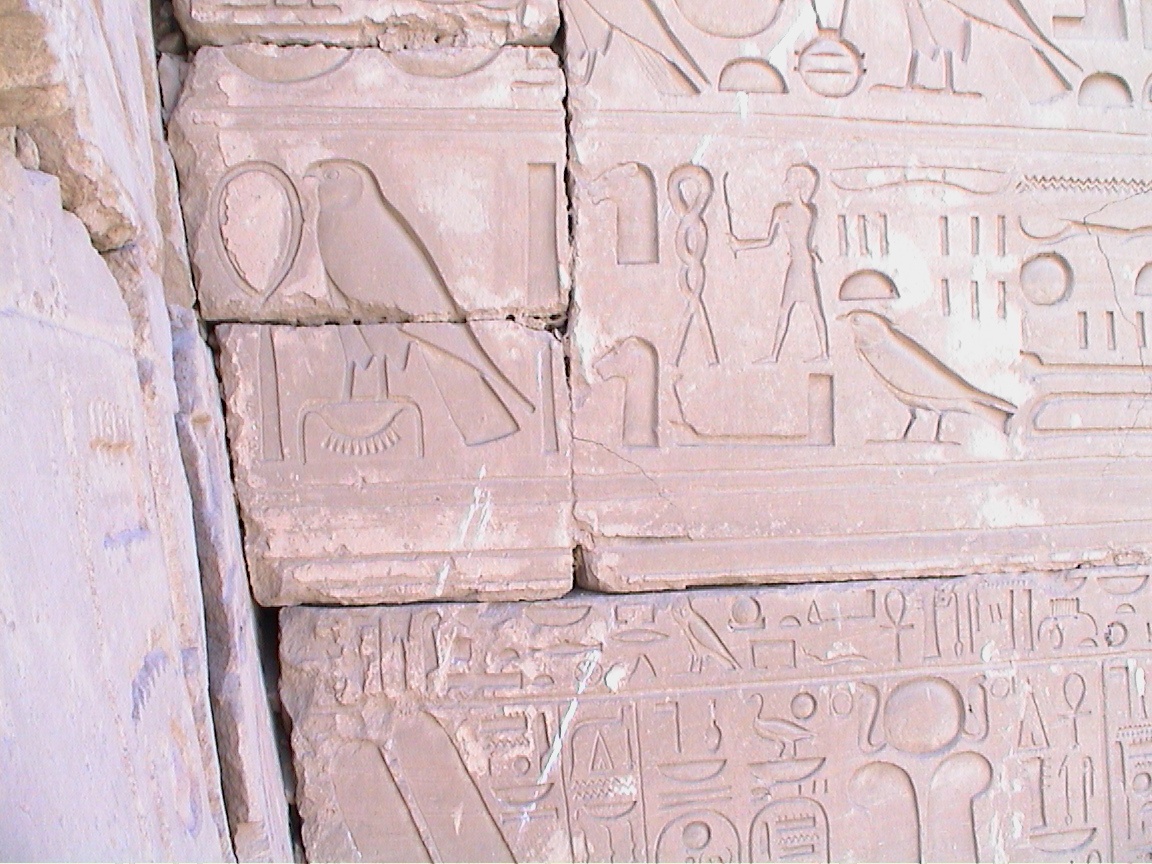
- Left Pilaster, Upper View 1
- Left Pilaster, Upper View 2
- Left Pilaster, Lower View
- Left Pilaster, Blocks Above Figure of Iuput
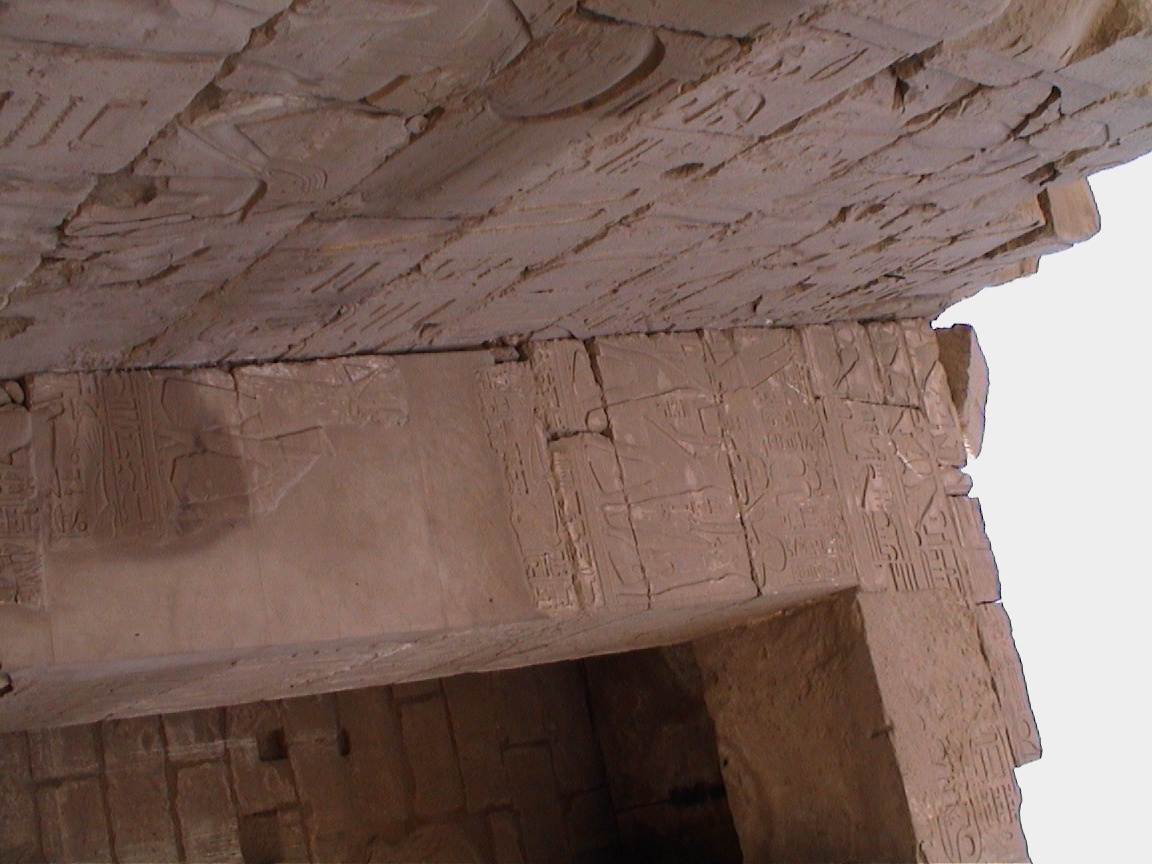
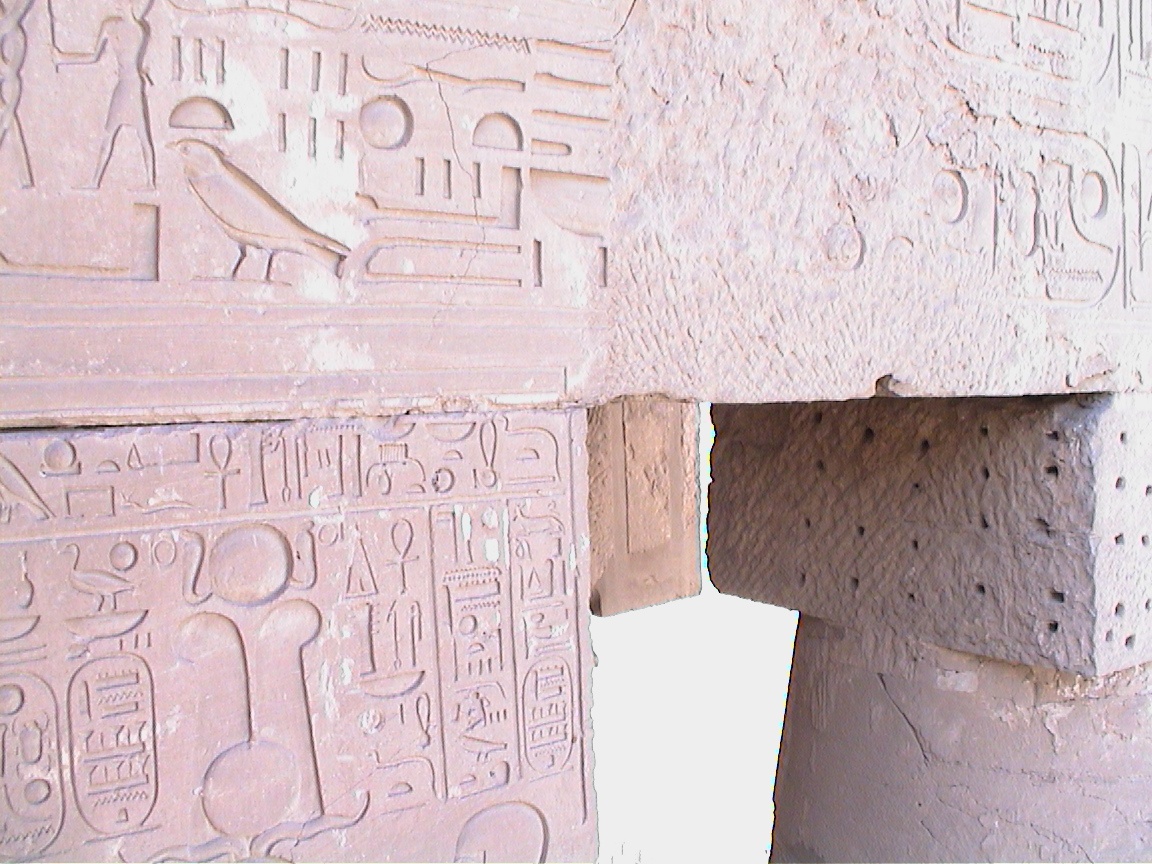
- Left Pilaster, Span Across Pilaster and Column, View 1
- Left Pilaster, Span Across Pilaster and Column, View 2
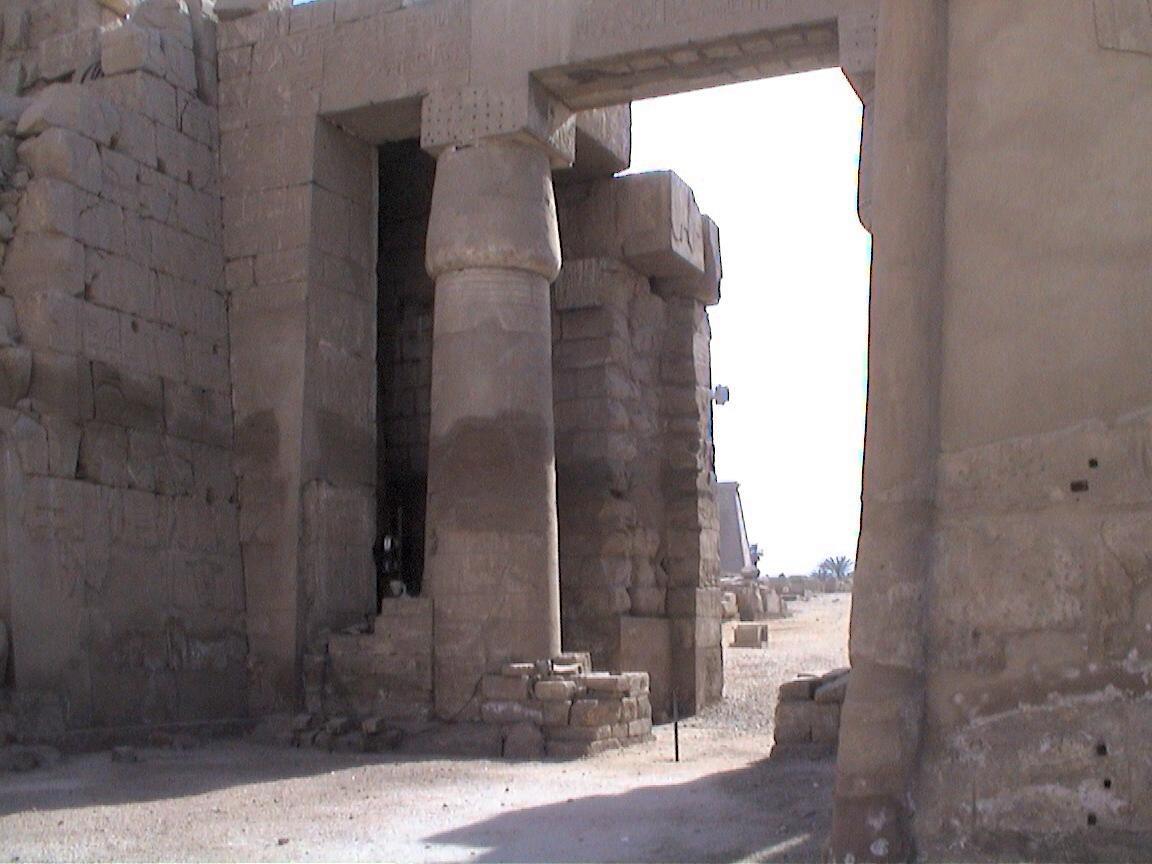
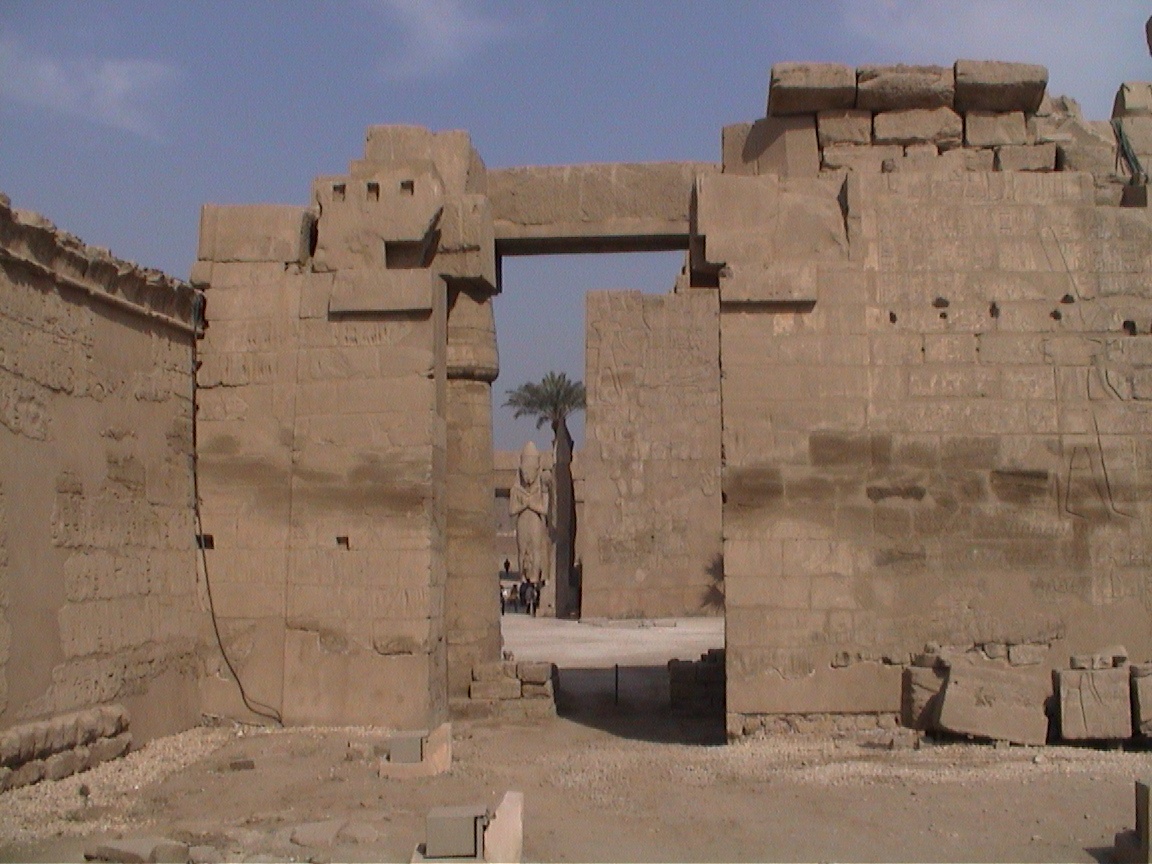
- Bubastite Portal, Right Rear View
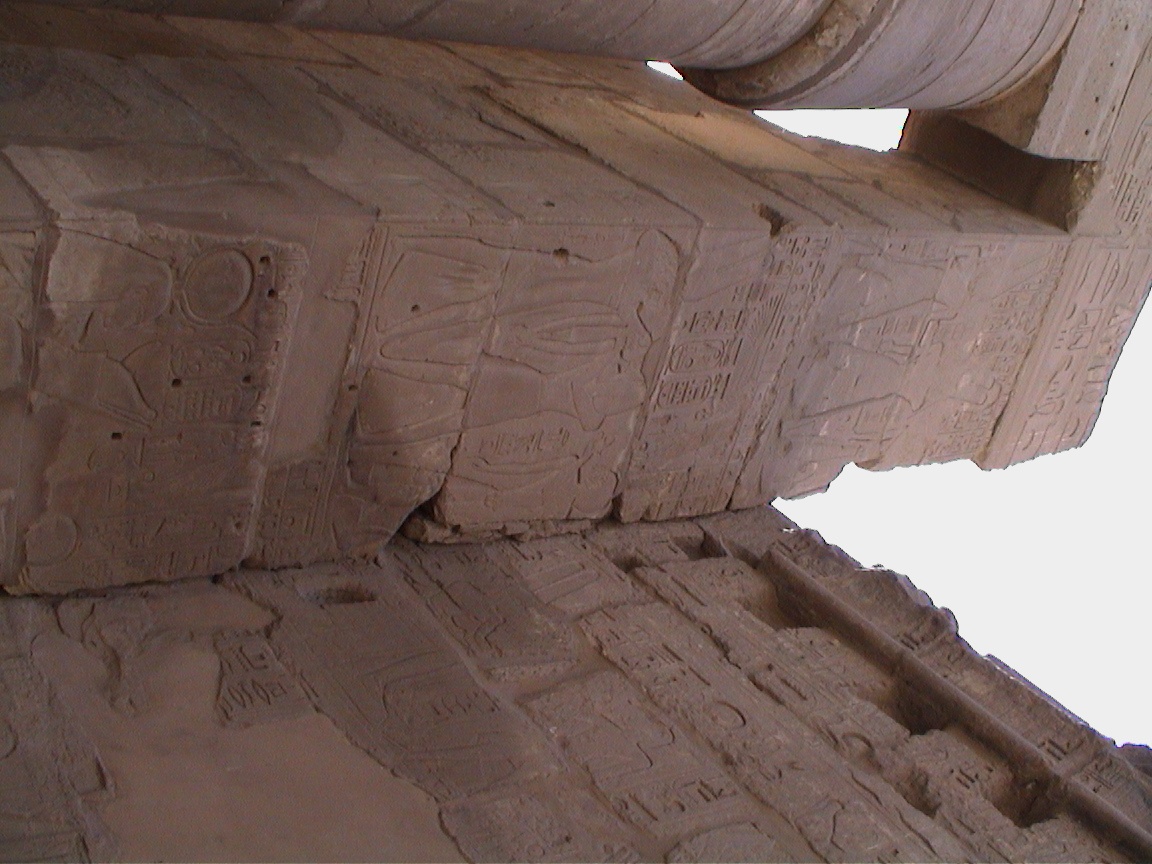
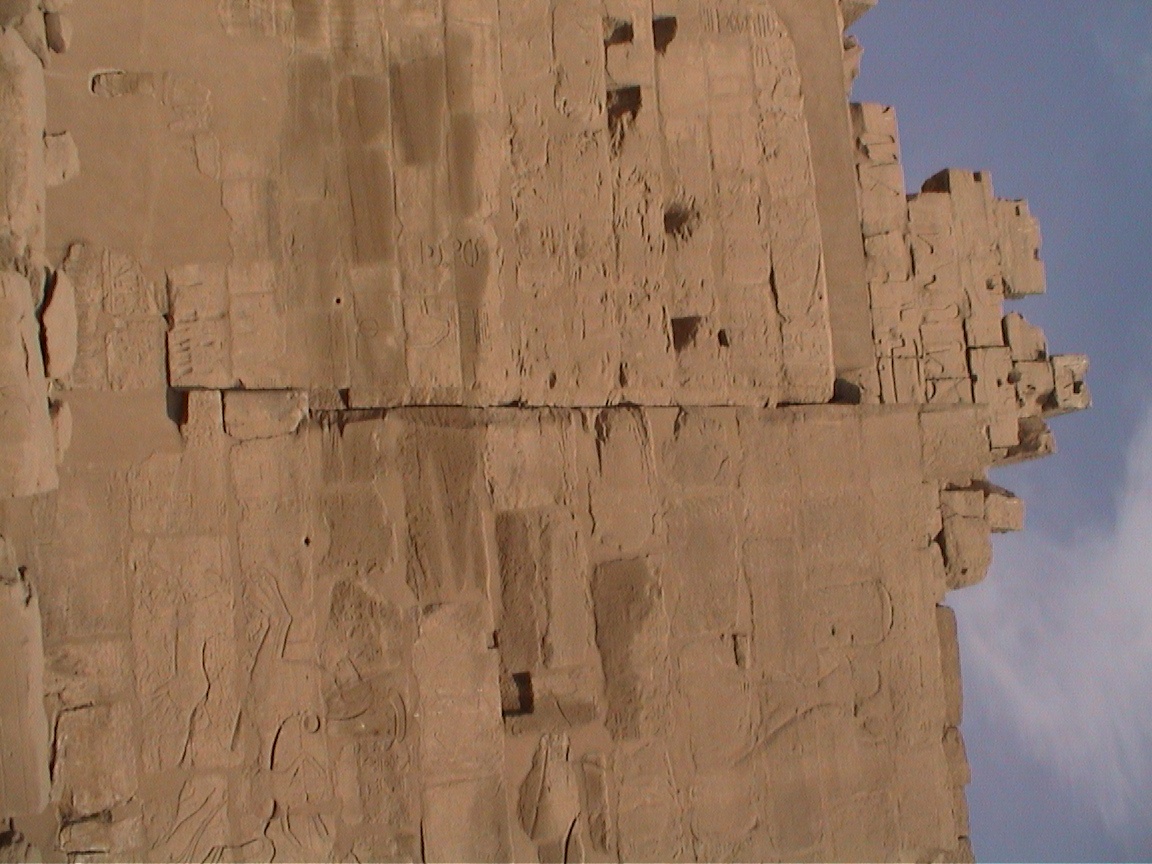
- Bubastite Portal, Above, View 1
- Bubastite Portal, Above, View 2
- Right Pilaster, Middle Section
- Right Pilaster, King Iuput "Crowded"
- Right Pilaster, Bottom Section
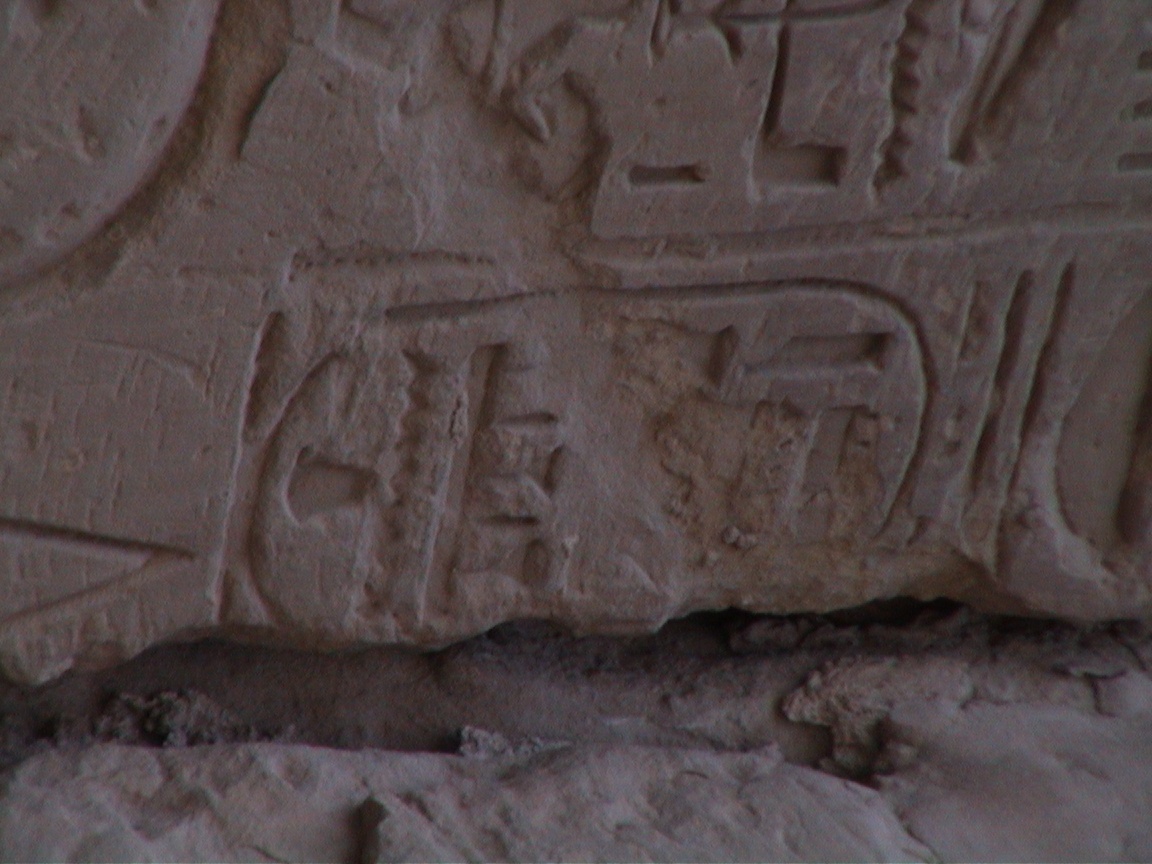
- Right Pilaster, Cartouche "Crowded"
- Right Pilaster, Top Section
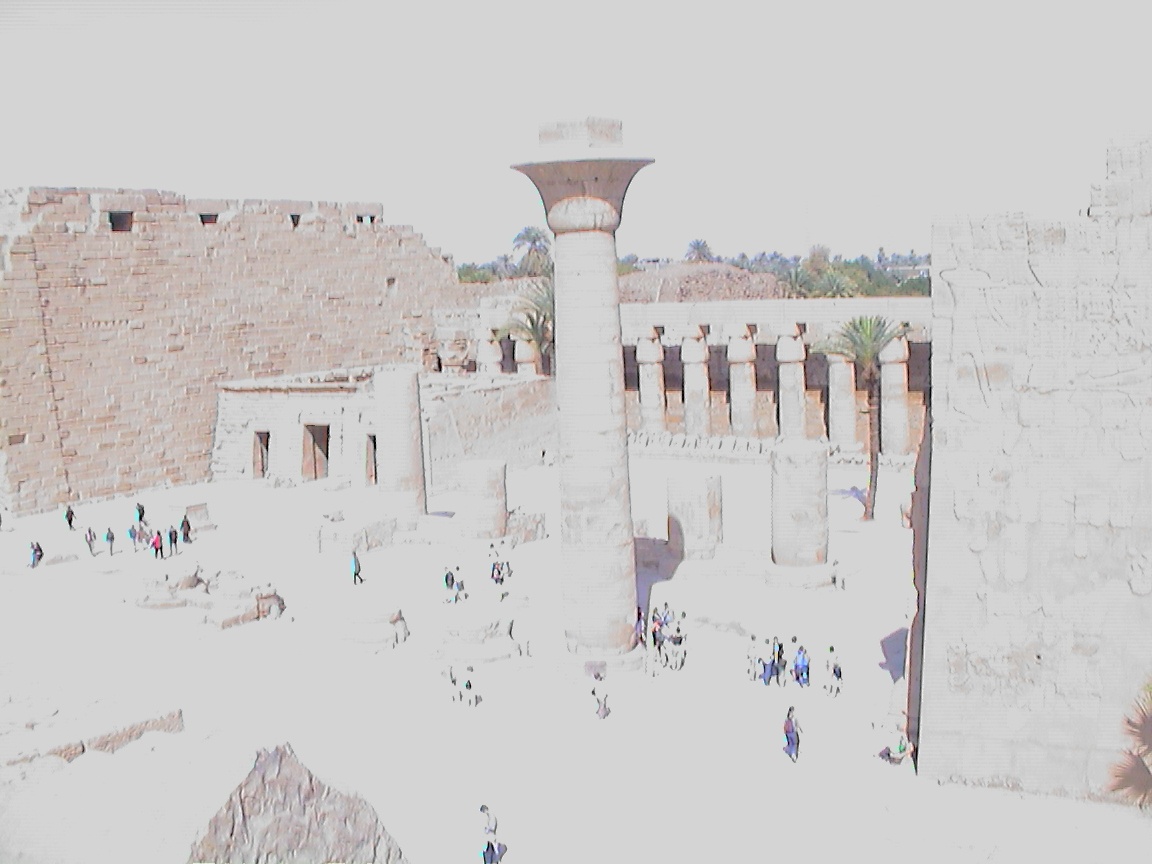
- View of Great Court from the Bubastite Portal
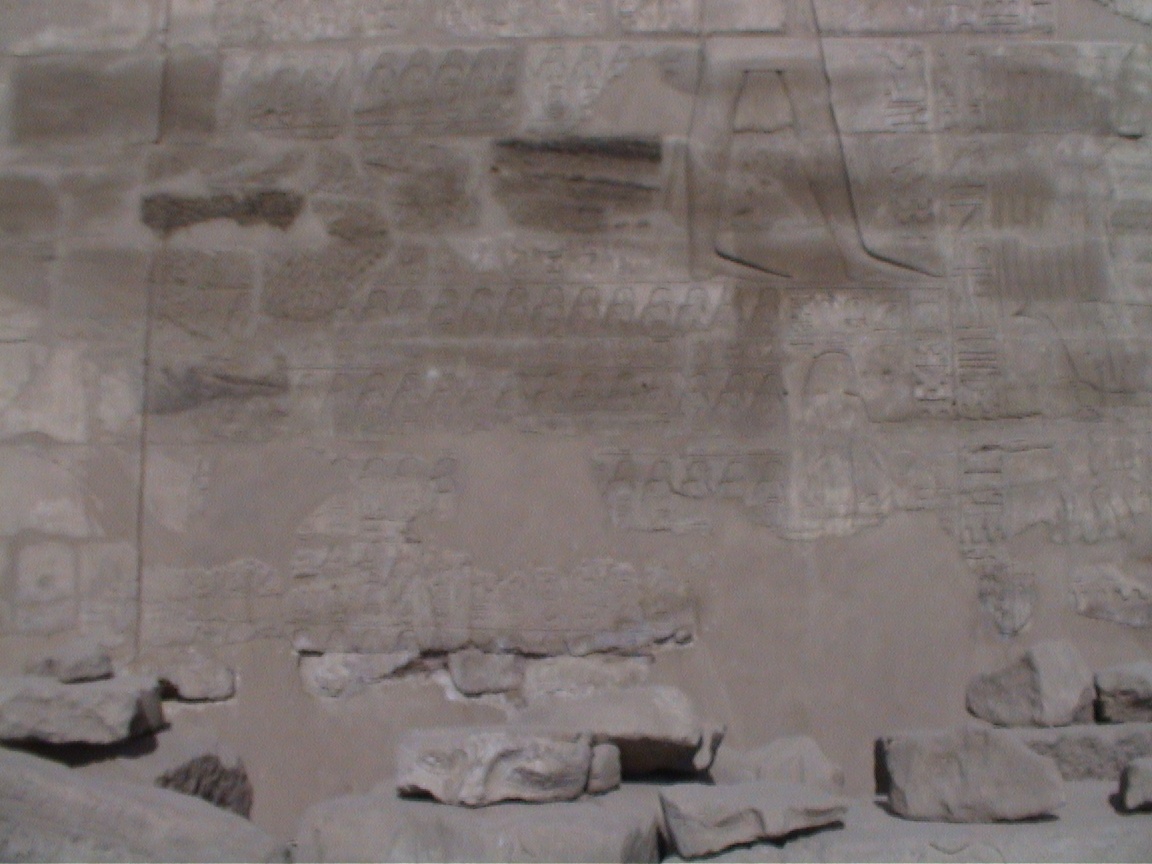
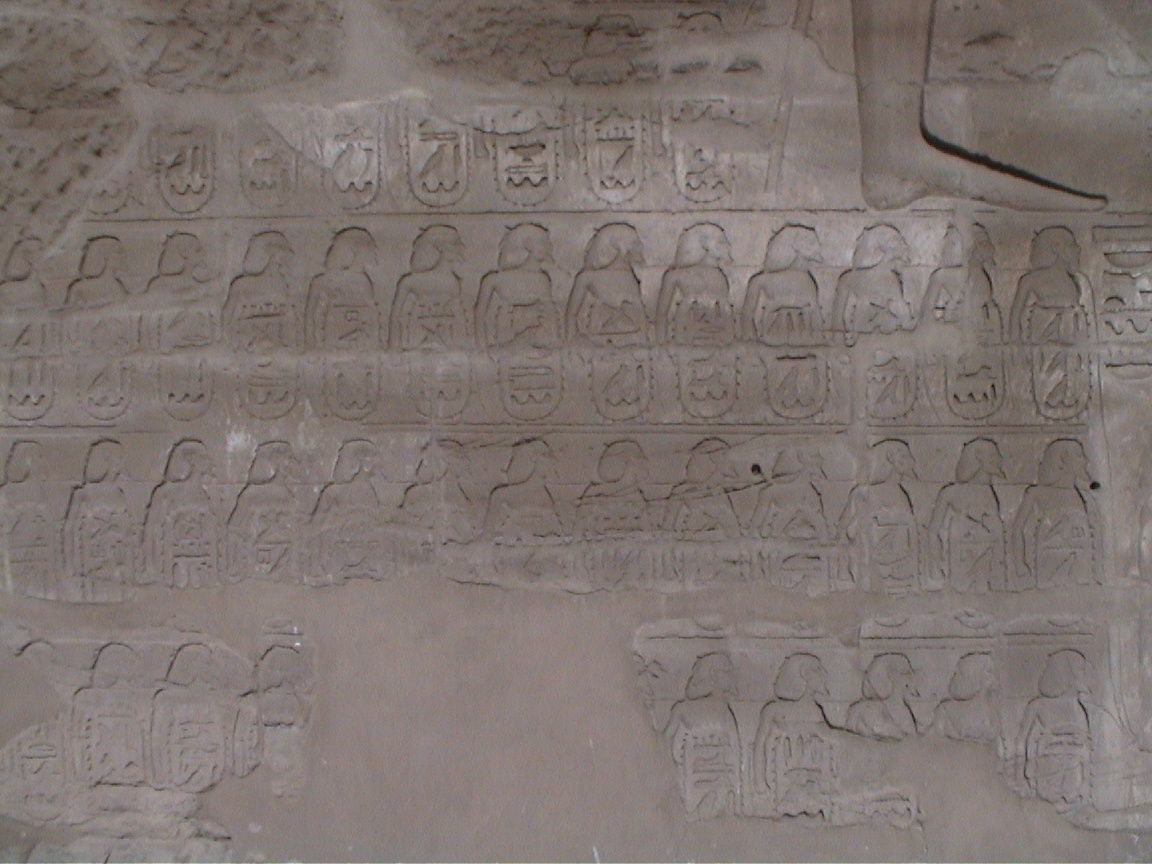
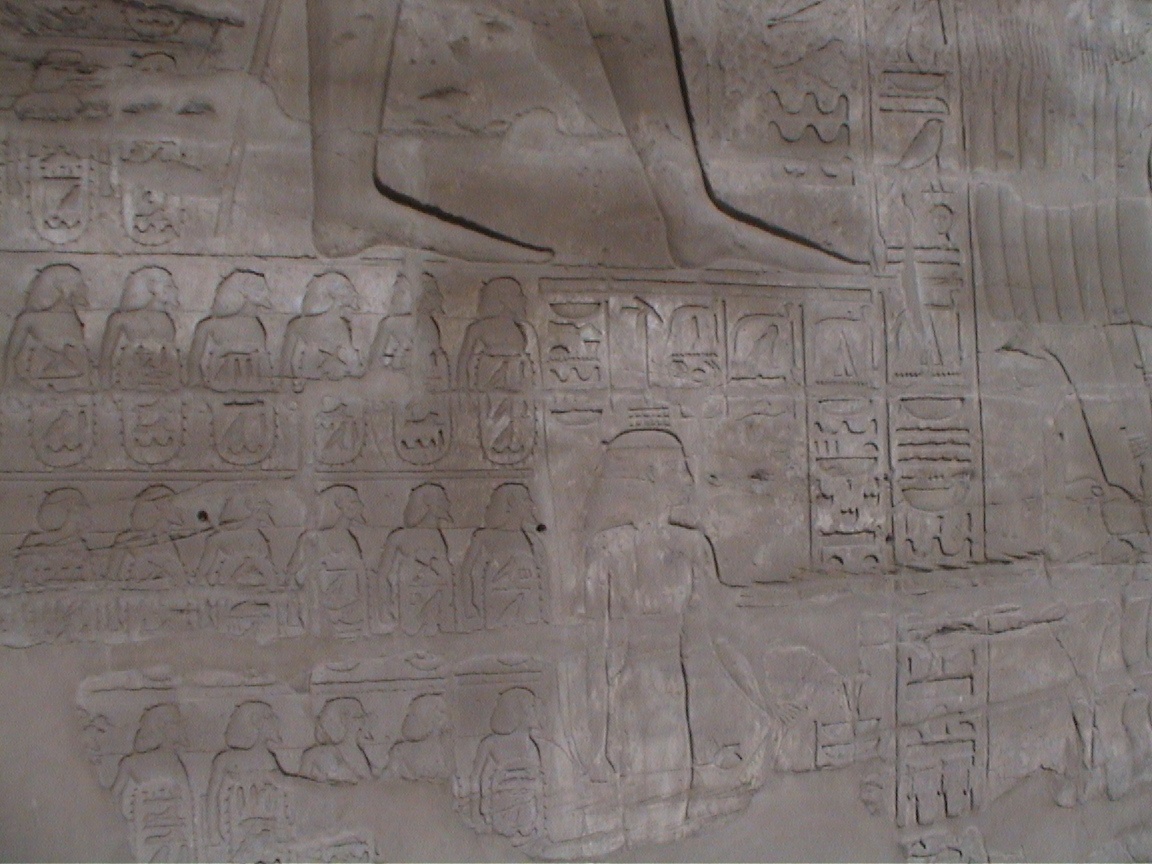
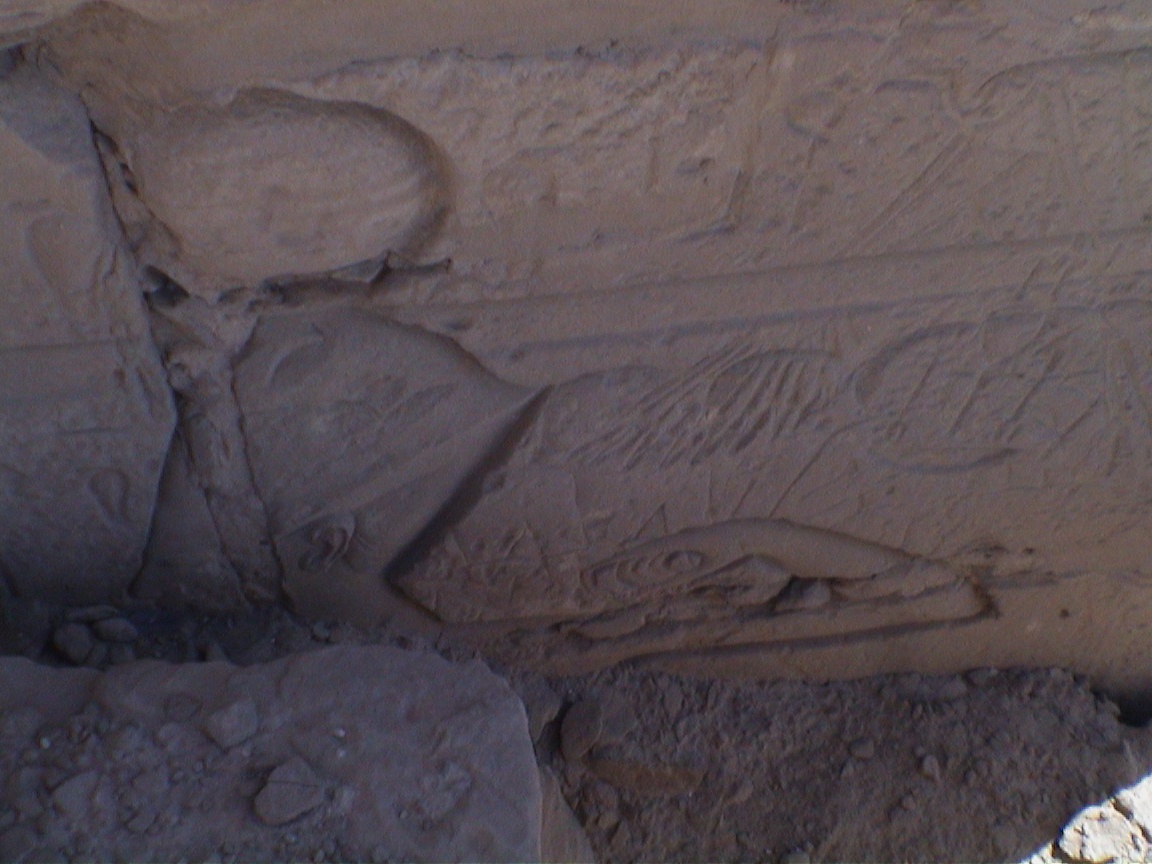
- Campaign Mural of Sheshonq, View 1
- Campaign Mural of Sheshonq, View 2
- Campaign Mural of Sheshonq, View 3
- Campaign Mural of Sheshonq, View 4
- Campaign Mural of Sheshonq, View 5
- Campaign Mural of Sheshonq, View 6
- Babastite Portal, Front View
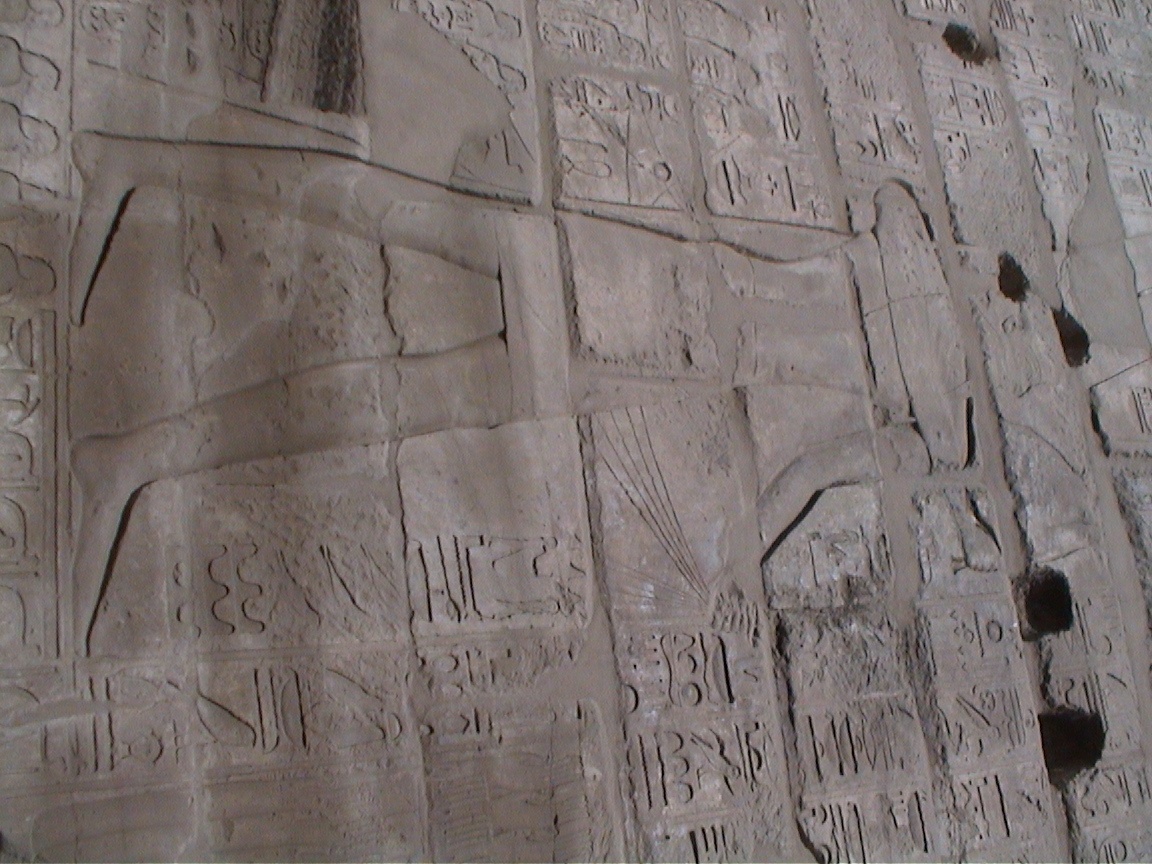
- Interface Between Mural of Sheshonq & Ramses II, View 1
- Interface Between Mural of Sheshonq & Ramses II, View 2
- Interface Between Mural of Sheshonq & Ramses II, View 3
- Interface Between Mural of Sheshonq & Ramses II, View 4
- Interface Between Mural of Sheshonq & Ramses II, View 5
- Interface Between Mural of Sheshonq & Ramses II, View 6
- Interface Between Mural of Sheshonq & Ramses II, View 7
© Charles N. Pope, US Library of Congress. All rights reserved.